
YouTube Tutorial on X-Ray Plugins
November 5, 2023
In our previous 42 Interactive Blog post on the X-Ray Plugin tutorial, we provided the step-by-step instructions on how to use this awesome plugin. Here we want to show you how it will actually work on your 3D project.
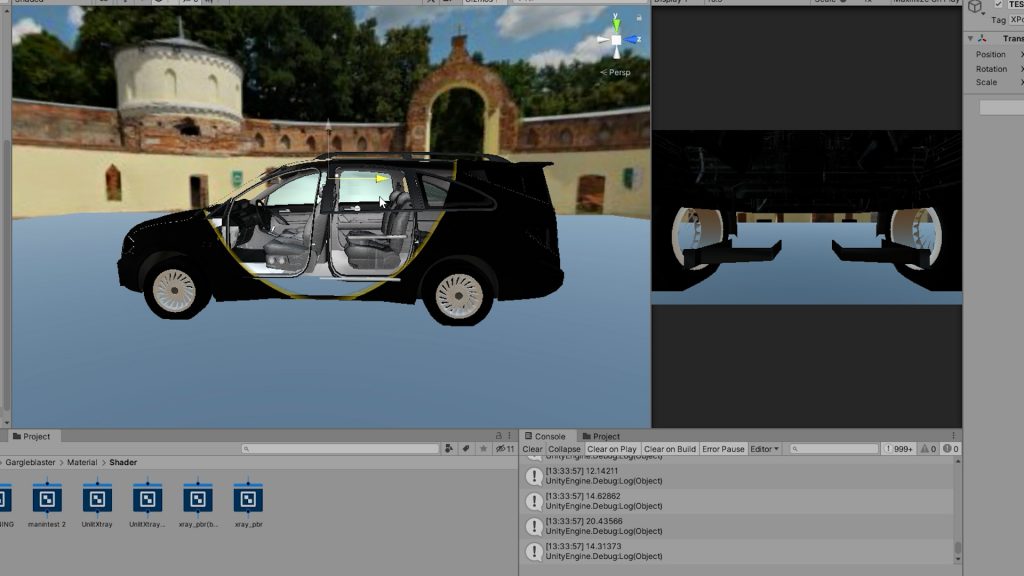
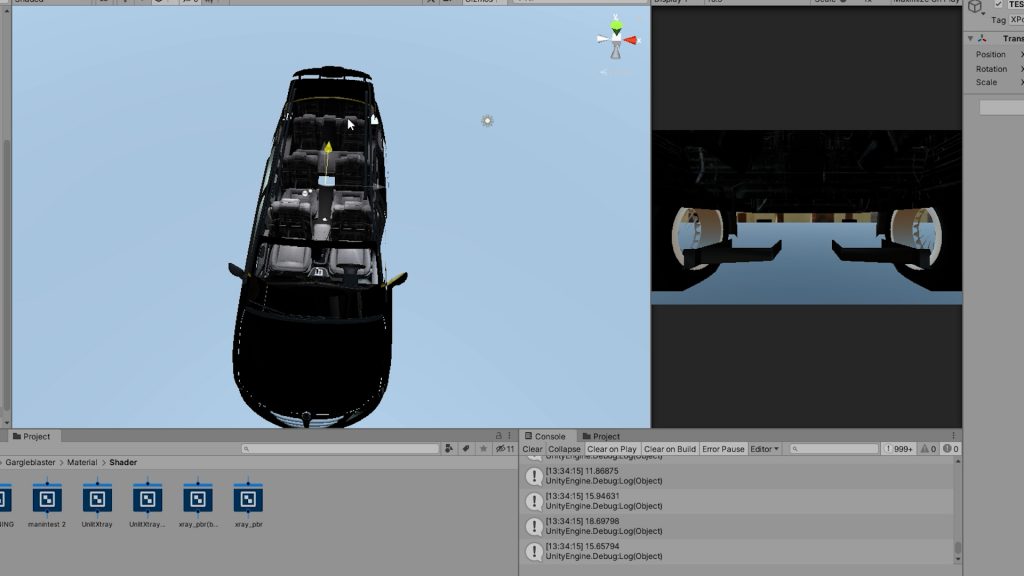
We are using a 7-seater car in this project showcase to help visualize how the x-ray effect of our X-Ray Plugin will make it easier for users to follow and apply.
This plugin will allow you to customize important elements of the x-ray pointer. It enables you to adjust the angles (front, rear, up, down, and side views), but you can also play around with the colours and the width of the pointer.
Another highlight of X-Ray Plugin is you can place the positioning of the pointer as well as alter to use as one big pointer or multiple smaller pointers around the car body part.
Curious? Check out this demo version on Unity3D Asset store.
In case you haven’t read the previous tutorial, here are the 3 steps in using X-Ray Plugin:
1. Activating License
To use the X-Ray plugin, you need to activate it on your PC using the license. You can log in to your account here.
2. Applying X-Ray to models
To define a position as an X-ray position, simply add a tag called “Xpoint” to any game object. That object’s position will be the world position will be x-ray position (maximum of 4 for the pro, 1 for the free).
3. Creating a dual side X-Ray
- Make the number of materials in MeshRenderer /Skinned MeshRenderer to 2.
- Add a material to material[0] first slot with (XrayUnlitBack / XrayPBRBack )Shader,
- And add a 2nd martial with (XrayUnlit / XrayPBR ) to second slot (material[1]).
X-Ray plugin is compatible with Lightweight and Universal Rendering Pipelines. Visit website


